RAW On New Cameras
If you shoot RAW with Sony’s latest a7M5 as soon as you get it and then try to open and edit the files in Lightroom, you will find that Lightroom does not support them yet. To open the RAW files in the software before Adobe’s official update arrives, you can fall back on LibRAW and DNG. As long as the RAW format of the new camera has not changed too radically (for example a new HQ compression), this method is relatively general purpose.

Essential Components Of RAW
A camera’s RAW data is mainly made up of two parts, the RAW data itself and the additional data.
RAW Data
The first part is the RAW data itself, that is one numeric value per pixel. For the vast majority of full-frame cameras this should be a two-dimensional array, with a 14-bit code value at each position. In Python, it can be represented as a numpy array of shape (h, w) with type uint16.
This array can be quite large. For example, a 33 MP image occupies about 63 MB of space. Therefore it needs to be compressed. The most common form of compression is bit packing. Each code value ranges from 0 to 16383 and needs only 14 bits, yet it occupies a 16-bit unsigned integer (2 bytes). Four 14-bit values can be packed into 7 bytes. Other compression methods include lossless JPEG or JXL modes used by DNG, as well as proprietary compression algorithms from Canon, Sony and Nikon. Lossy compression on RAW is relatively rare, for example Sony’s long-criticised Compressed option, and the newly introduced Compressed HQ option on the a7M5. These are all different compression algorithms, and decoding the original array from the compressed data is the main task when “decoding RAW”.
Fortunately, open source libraries represented by LibRAW can do this step efficiently. Even though the a7M5 bumps the ARW version number to 6.0.0 and adds the HQ compression option, the Lossless mode remains the same as before, and LibRAW can still decode it correctly.
So we can easily obtain the most critical data we need: the RAW data array. Here we use rawpy, a Libraw wrapper for Python.
with rawpy.imread(image_path) as raw:
    raw_image = raw.raw_image.copy()
Additional Data
Having only the RAW data is not enough to display an image with correct colours. It only represents some kind of original sensor output and does not contain colour information. To convert it to familiar colour spaces, we at least need a matrix that describes how to transform from the sensor’s RAW RGB space into standard spaces such as XYZ or sRGB.
For RAW files produced by cameras, the relevant matrices can usually be found in the EXIF data. For Sony, for example, they are stored in the EXIF MakerNote with tag ID 0x7800. The source space, target space and transform direction of this matrix may differ, but fortunately this sort of data is fairly consistent within a single brand. The a7M5’s matrices are stored in roughly the same format and location as on recent bodies, and LibRAW can recognise them and convert them into a standard form.
Similarly, the white balance information, black level and white level can also be found in EXIF and extracted by LibRAW.
with rawpy.imread(image_path) as raw:
    raw_matrix = raw.rgb_xyz_matrix[:3, :3]
    raw_wb = raw.camera_whitebalance
    black_levels = raw.black_level_per_channel
    white_level = raw.white_level
Reassembling Into A RAW File
When ACR or other third-party software reads the original RAW file and finds that it was shot on an unknown camera, there is no additional data for that camera in its database (for example the two colour transform matrices under D65 and A light), so it refuses to decode it.
Although we do not have these two matrices either, we do have a transform matrix produced by the camera itself for the current light source. Since ACR uses interpolation between the matrices, as long as we fill both the D65 and A matrices with this same one, the result of any interpolation will still be this matrix, which gives us correct colour reproduction under the current lighting.
Now we need to reassemble the RAW data array and these pieces of additional information into a RAW file that third-party software can recognise and read. Here we choose the DNG format, which is a generic RAW format.
A DNG file needs at least the following:
- RAW data array: we have already extracted this
- Black and white levels: use the extracted values directly
- Colour Matrix: equivalent to
rgb_xyz_matrixfrom Rawpy - As Shot Neutral: this is used for white balance. Physically it is the code value of a neutral colour in RAW. It is the reciprocal of the white balance gain, that is
1/camera_whitebalance.
Both the Colour Matrix and As Shot Neutral are stored as floating point numbers represented by two integers in the order numerator and denominator, so some conversion is required, for example converting them into the form x/10000.
t = DNGTags()
t.set(Tag.BlackLevel, black_level)
t.set(Tag.WhiteLevel, white_level)
t.set(Tag.ColorMatrix1, cm1)
t.set(Tag.ColorMatrix2, cm2)
t.set(Tag.AsShotNeutral, as_shot_neutral)
Once we have these essentials, we can assemble them into DNG format. Here the library of choice is PiDNG. Although it has not been maintained for a long time, it is still just about usable. DNG supports optional JPEG compression, which PiDNG implements via a C library. If you choose no compression, PiDNG runs in pure Python.
r = RAW2DNG()
r.options(t, path="", compress=False)
r.convert(image, filename=output_dng_path)
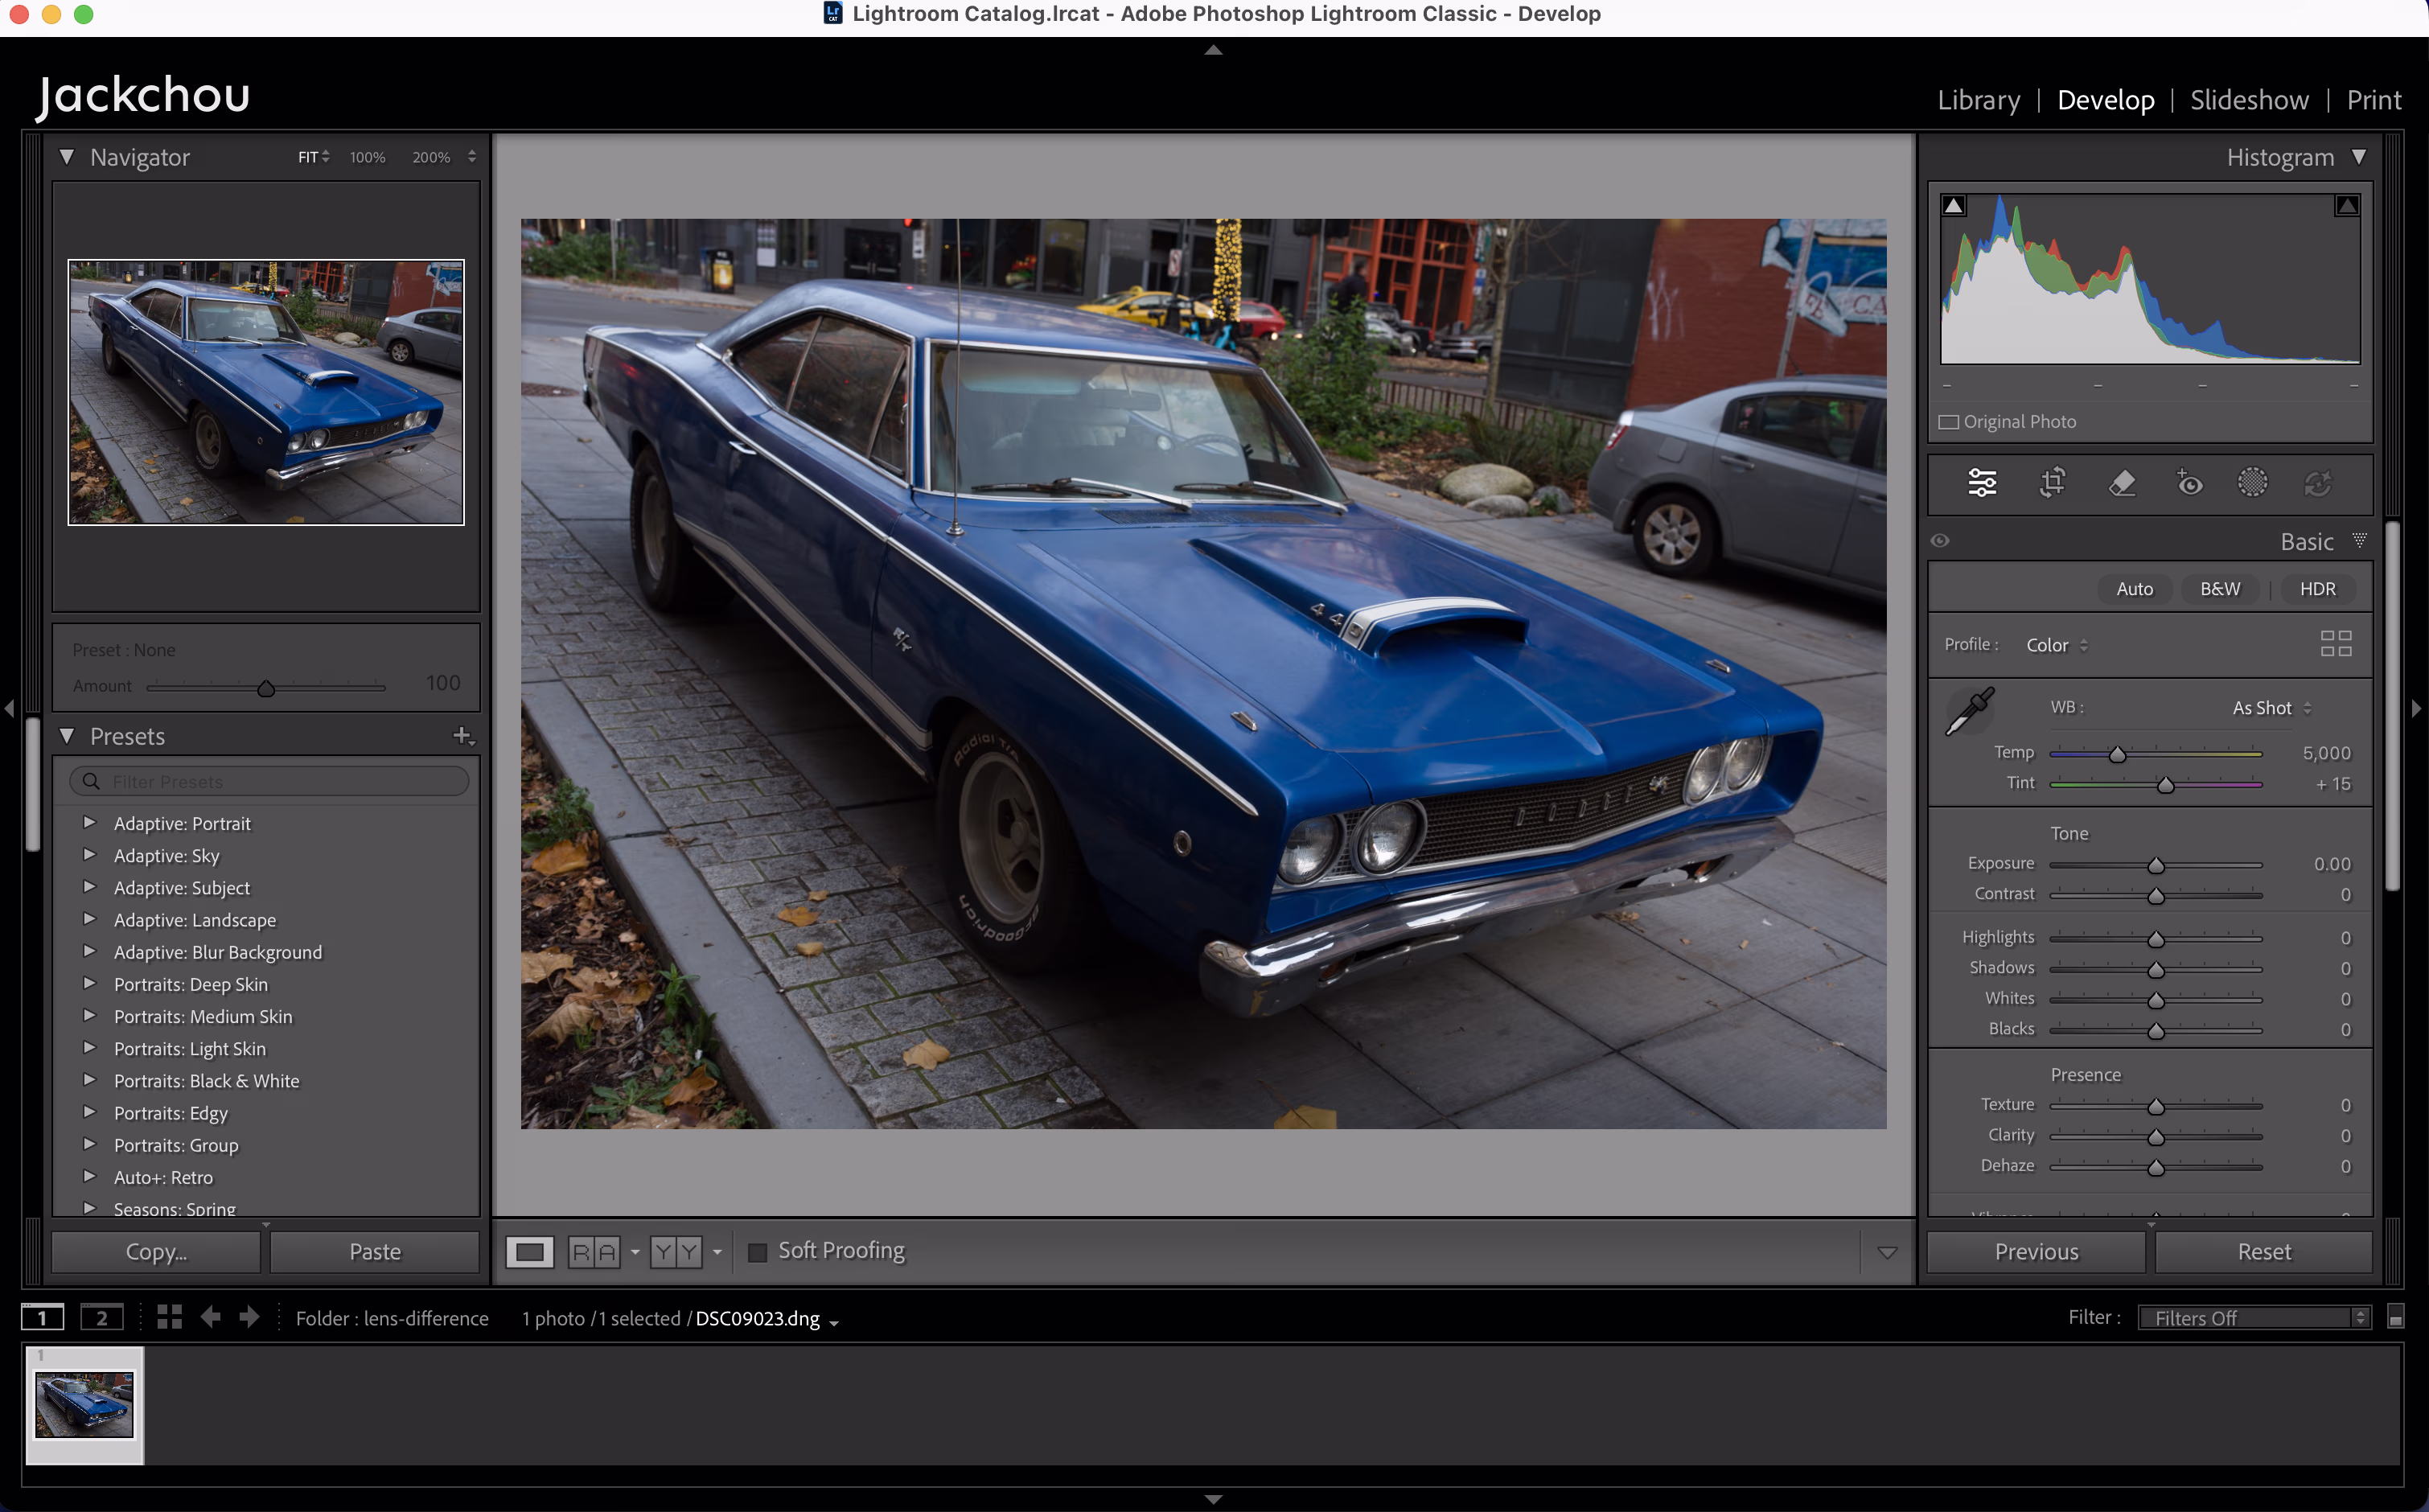
At this point we have successfully converted a RAW image shot on the a7M5 into a generic DNG file that can be imported into Lightroom and edited correctly (except for adjusting white balance). It is very bare-bones, but as an emergency workaround before Adobe’s official update, it is perfectly adequate.